From Sculpture to Skeleton: What Every 3D Artist Gets Wrong About Rigging
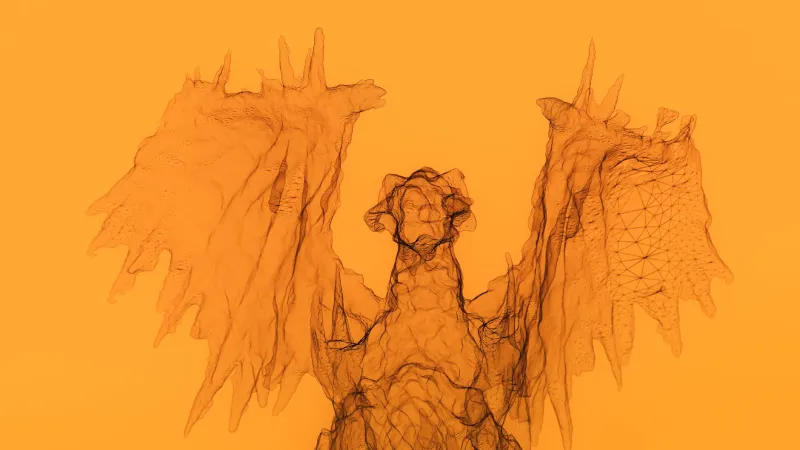
Picture this: you've spent three weeks on a creature sculpt. The surface detail is immaculate. The anatomy reads perfectly in every reference angle. You bake it down, hand it off to the rigging department — or try to rig it yourself — and within an hour, the whole thing looks like a deflating balloon animal.
The elbow crumples. The shoulder pinches. The jaw deforms into something you'd expect from a horror game, and not in a cool way.
This isn't a rigging failure. It started long before anyone touched a skeleton. It started when you were sculpting.
The Gap Between Departments
In traditional studio pipelines, there's often a real cultural divide between sculptors and riggers. Sculptors think in surface. They care about silhouette, skin texture, muscle definition, pore detail — the things that read in a turntable or a beauty render. Riggers think in motion. They care about how geometry deforms under transformation, where edge loops sit relative to joints, how mesh density distributes across a bending surface.
These two mindsets can clash hard, and the mesh is where that tension shows up.
The good news: if you understand even a little of how rigging works before you commit to a final sculpt, you can save yourself — and any rigger you collaborate with — an enormous amount of pain.
Misconception #1: The Skeleton Goes Wherever It Looks Right
A lot of sculptors assume joint placement is a rigging problem. It's not. Joint placement is directly constrained by your mesh, and if your mesh doesn't support where a joint needs to live, you're going to get bad deformation no matter how carefully the rig is built.
Take the shoulder. Anatomically, the shoulder is one of the most complex joints in the human — or creature — body. When you sculpt a character with a beautifully defined deltoid and a deep axilla (the armpit area), that looks great in static pose. But if the geometry in that transition zone isn't dense enough, or if the edge flow runs in the wrong direction, raising the arm will cause the mesh to collapse or stretch in ways that no weight painting can fully correct.
The fix isn't a rigging trick. It's planning your mesh density and edge flow around the joint before you finalize the sculpt.
What Edge Loops Actually Do in Motion
Edge loops aren't just a topology formality — they're the architecture your rig deforms along. Think of them like the grain in wood: bend with the grain and it's smooth, bend against it and it splinters.
Around joints, you want concentric loops that follow the natural axis of rotation. At the knee, those loops should encircle the joint horizontally. At the wrist, same principle. The more loops you have in a deformation zone, the smoother the bend — but only if they're oriented correctly.
Here's a common mistake: sculpting a creature leg with beautiful surface detail but running edge loops diagonally across the knee because that's what the silhouette demanded. When that knee bends ninety degrees, the geometry shears instead of compresses, and you get a twisted, broken-looking deformation that no amount of corrective shapes can fully hide.
A practical rule: whenever you're defining a joint area during sculpt, ask yourself — which direction does this joint rotate, and are my loops perpendicular to that axis?
The Weight Painting Problem You Created
Weight painting — the process of telling the software how much influence each bone has over each vertex — is where a lot of sculptors first encounter the consequences of their earlier decisions.
If your mesh has uneven polygon density across a deformation zone (super dense in one area, sparse in another), automatic weight generation is going to produce unpredictable results. Vertices in low-density areas will get pulled further than they should. High-density clusters will create stiff pockets that don't move naturally.
The shoulder-to-neck transition is a classic example. Sculptors often add a ton of geometry to the trapezius muscle to get the surface detail right, while leaving the neck relatively sparse. When the head turns or the shoulder shrugs, that density mismatch creates a visible seam in the deformation — a line where the mesh behavior changes abruptly.
You can manually fix this in weight painting, but it's tedious, imprecise, and time-consuming. Evenly distributing your geometry across deformation-critical areas from the start is a much cleaner solution.
Creature Anatomy Adds Another Layer
All of this gets more complicated when you're working on non-humanoid creatures — the bread and butter of a lot of concept art and game pipelines. A quadruped shoulder doesn't work like a human shoulder. A creature with a hinged jaw needs mesh support at the jaw joint that standard bipedal rig setups don't account for.
For creature work specifically, it's worth doing a quick skeleton sketch before you commit to your final sculpt. You don't need a full technical rig — just a rough mental model of where the major joints will live and how far each limb will need to rotate. Then sculpt around that skeleton, not on top of it.
This is especially important for tentacles, tails, spines, and wings — any long, multi-segment structure where the deformation chain is complex. Getting the loop flow wrong on a dragon wing, for example, can mean the membrane tears visually when it extends, even if the geometry density is technically sufficient.
Building Better Habits at the Sculpt Stage
Here's a short checklist worth running through before you call a sculpt finished and ready for rigging:
- Identify every major deformation zone — shoulders, elbows, wrists, hips, knees, ankles, neck, jaw. These are your problem areas.
- Check loop orientation around each joint. Loops should be perpendicular to the axis of rotation.
- Distribute density evenly across deformation zones. Avoid abrupt transitions from high-poly to low-poly in areas that will bend.
- Avoid n-gons and triangles in deformation zones. Quads deform predictably. N-gons and tris don't.
- Test-pose your mesh. Even a rough, manual deformation test in your software of choice can reveal problem areas before they become rigging nightmares.
The Collaboration Payoff
If you work in a studio pipeline, building even basic rigging literacy makes you a dramatically more valuable collaborator. Riggers notice when a mesh comes in clean and well-planned — it's not a small thing. And if you're a solo artist handling your own full pipeline, that knowledge is simply essential.
The best creature work in games and film doesn't happen because a rigger saved a bad sculpt. It happens because the sculptor understood enough about what comes next to set the rigger up for success.
Your beautiful model doesn't have to fall apart in motion. It just has to be built with motion in mind from the start.