Render Day Reckoning: Why Your Sculpt Betrays You When It Matters Most
There's a specific kind of dread that hits right around the time your render progress bar crawls past 90%. You've been staring at your sculpt for days — maybe weeks. The viewport looked dialed in. The proportions felt right, the surface texture had that satisfying grain, and the silhouette was reading exactly how you imagined it. Then the final image loads, and you're left wondering if you accidentally rendered someone else's file.
This isn't a skill problem. It's a perception problem — and a pipeline problem. And it happens to sculptors at every level, from hobbyists working out of a spare bedroom in Austin to seasoned pros at mid-sized studios in Los Angeles. Understanding why it happens is the first step toward making sure it stops.
Your Viewport Is Lying to You (Politely)
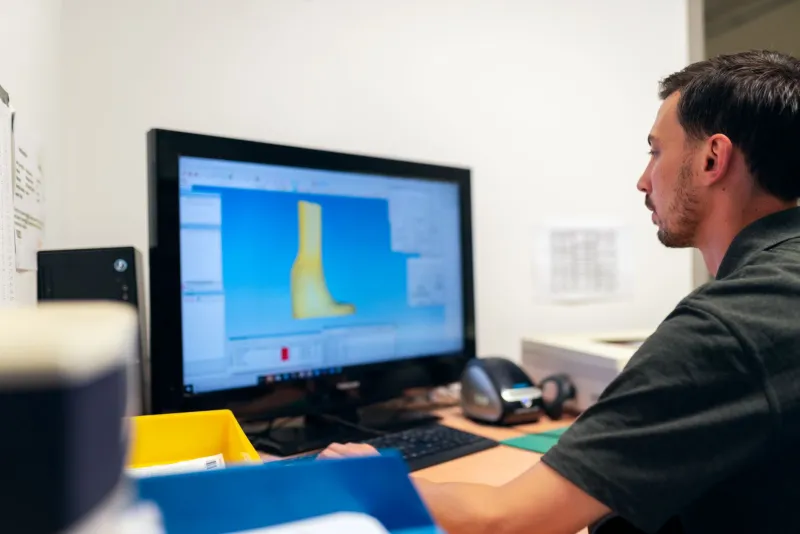
Here's the uncomfortable truth: the viewport in most sculpting and modeling software is optimized for speed, not accuracy. Real-time rendering engines use a bunch of clever shortcuts — approximated lighting, simplified shadow calculations, and material previews that look great for navigation but don't reflect how your actual render engine processes light.
ZBrush's MatCap system is a perfect example. MatCaps are phenomenal for reading surface detail while you work. They give you that satisfying sense of depth and volume. But a MatCap is essentially a photograph of a sphere with a material applied — it's a static lighting cheat. The moment you move your sculpt into a physically-based renderer like Arnold, V-Ray, or even Blender's Cycles, all that apparent surface richness gets re-evaluated under actual light simulation. Details that popped under MatCap lighting can flatten out. Subtle forms that looked crisp can disappear entirely.
This is especially brutal for skin and organic surfaces. The subsurface scattering that makes skin look alive in a final render behaves nothing like a MatCap approximation. What read as sharp pore detail in your sculpting session can render as muddy noise once light starts bouncing through a translucent material.
The Scale Problem Nobody Warns You About
Scale is boring to talk about, which is probably why so many sculptors get burned by it. If your model isn't built to real-world scale in your scene, your render lighting won't behave the way you expect. A character that's 10 units tall instead of 170 centimeters might look fine in isolation, but the moment you introduce physically accurate lighting — especially with area lights or HDRIs — the falloff and shadow behavior will feel fundamentally wrong.
Shadows will be too soft or too harsh. Ambient occlusion will read differently in the crevices of your sculpt. Skin shaders with physically based subsurface parameters will scatter light at the wrong depth. None of this shows up in your viewport. All of it shows up in your render.
Before you're deep into a project, get your scene scale sorted. It's a five-minute fix that saves hours of troubleshooting later.
Material Translation: Where Confidence Goes to Die
You export your sculpt, load it into your renderer of choice, slap on a base skin shader, and suddenly your beautifully sculpted pores look like someone dragged a cheese grater across a balloon. What happened?
Displacement and normal maps behave very differently depending on the renderer, the subdivision level at render time, and how your UV maps are set up. A displacement map that looks stunning in one renderer can produce pinching artifacts, exploding geometry, or completely blown-out surface reads in another. Normal maps are even more temperamental — tangent space versus object space, OpenGL versus DirectX conventions, and bit depth all factor into whether your baked detail actually translates.
The fix here is to build a simple test pipeline early. Export a small section of your sculpt, bake your maps, and do a quick render pass before you're anywhere near final output. Catching a displacement issue on a hand study takes ten minutes. Catching it on a fully textured, fully rigged hero character the night before a deadline is a completely different conversation.
Lighting Design vs. Lighting Reality
Sculptors often develop a strong intuition for form under a single, clean light source — usually something close to a standard three-point setup or a neutral HDRI. That's great for evaluating your work in progress. It's not necessarily what your sculpt will live under in its final context.
If you're building a character for a game, that character is going to be lit by dynamic in-engine lighting that you have zero control over. If you're sculpting for a cinematic, your sculpt will be dropped into a lighting environment built by a completely different department. If you're doing personal work for your portfolio, you're making all the lighting decisions yourself — which means you need to actually think about what story you want the light to tell.
A render that looks flat often isn't a sculpting problem at all. It's a lighting design problem. Rim lights, bounce cards, and careful HDRI rotation aren't post-production tricks — they're part of the compositional toolkit that makes a sculpt feel three-dimensional in a two-dimensional image.
Closing the Gap Before Render Day
The sculptors who consistently nail their renders aren't necessarily better at sculpting. They're better at testing. They set up a rough render environment early in the process and check in on it regularly — not just at the finish line. They know what their displacement workflow produces before they're committed to it. They've built a material library they've personally validated in their renderer. They treat the viewport as a creative workspace and the renderer as the final judge, and they don't confuse the two.
A few practical habits that make a real difference:
- Do a mid-project render check. Roughly 50% through your sculpt, export and render a test pass. You'll catch material and scale issues while you still have time to fix them.
- Use consistent scene lighting for evaluation. Build a simple, repeatable lighting setup you use for all your work-in-progress renders. Consistency makes problems easier to spot.
- Know your baking pipeline cold. Whether you're using Marmoset Toolbag, Substance Painter, or baking inside your DCC of choice, understand exactly how your maps are being generated and what settings affect output quality.
- Zoom out. A lot of render disappointment comes from evaluating sculpted detail at a scale that won't be visible in the final output. If the camera is 10 feet from your character, those ultra-fine pore details aren't doing anything for you.
Render day shouldn't feel like a gamble. The more you close the feedback loop between sculpting and rendering throughout your process, the less that final output will catch you off guard. Your viewport is a workspace. Your render is the truth. Learn to speak both languages, and the gap between them starts to shrink.